
“By the pricking of my thumbs,
Something wicked this way comes.”
— William Shakespeare, Macbeth, Act IV, Scene 1
✺
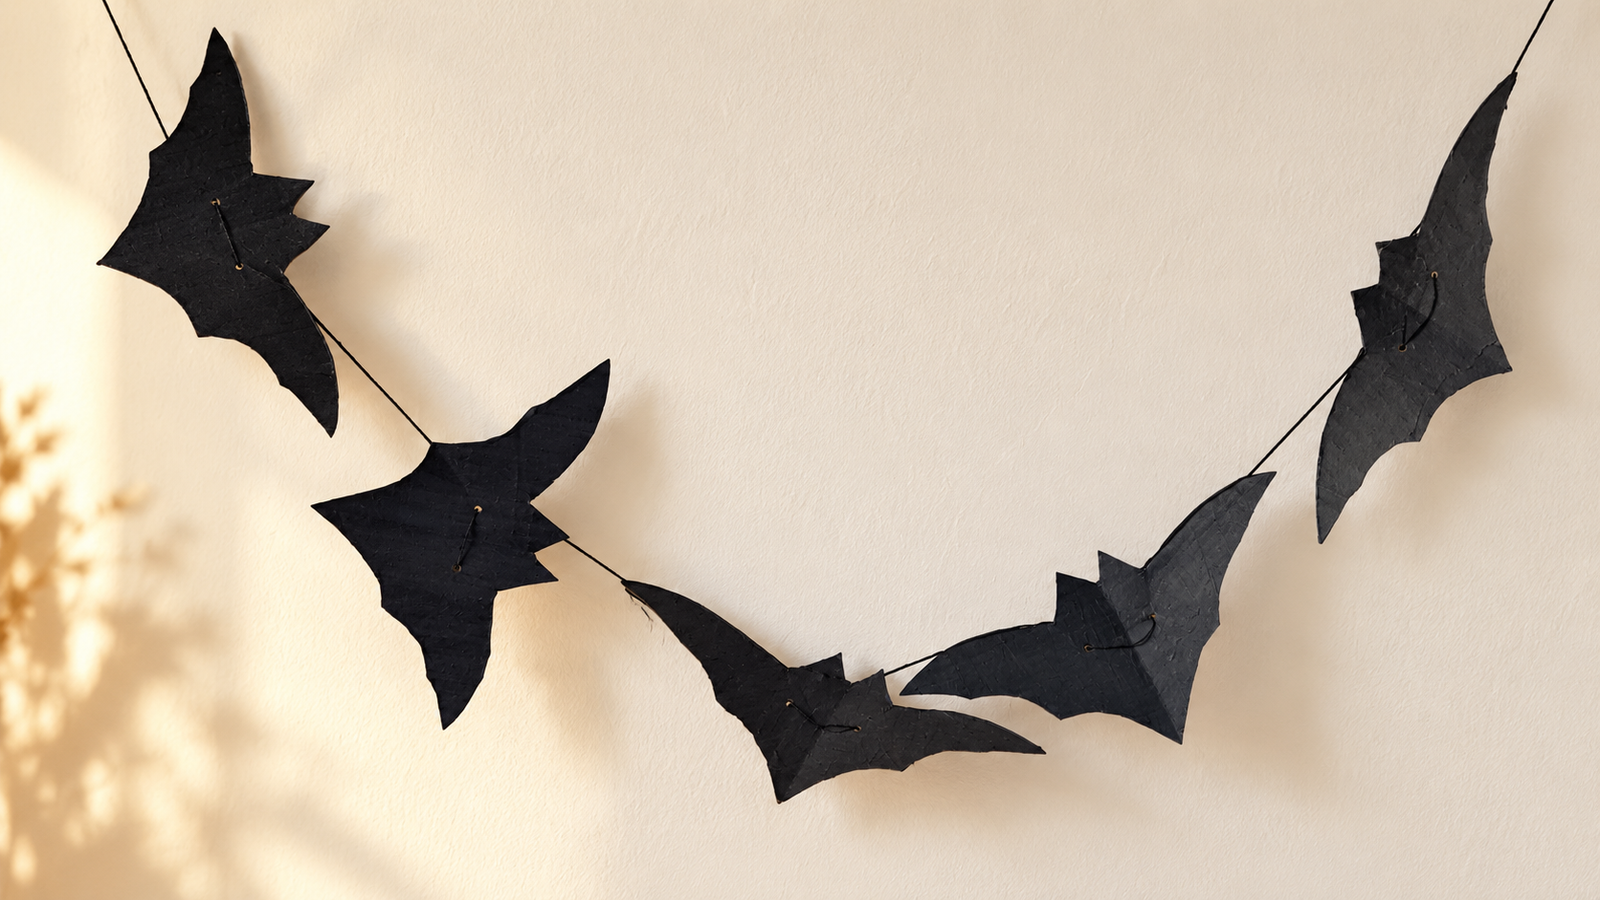
What if a few paper or cardboard silhouettes turned into a little flight of bats for Halloween? With the printable Vivabulle template, an easy-to-cut material, and a few simple supplies, you can make a garland to hang above a piece of furniture, in front of a window, or along a wall.
In this tutorial, I’ll show you how to make a Halloween bat garland using repurposed cardboard or colored paper.
You can paint your silhouettes black or midnight blue, or glue two cutouts of heavy drawing paper or cardstock together to make each bat sturdier.
The Step-by-Step Video Tutorial
Before following the detailed steps, you can watch how the garland is made in the video.
You’ll see the template, the cardboard cutting, the bat preparation, and how they are assembled on the waxed cotton cord.
Materials You’ll Need
To make this garland, you’ll mainly need an easy-to-cut material: thin repurposed cardboard to paint, or heavy paper that is already colored. Add the printable Vivabulle template, a pencil, scissors, a ruler, and some string, thread, or thin ribbon to assemble the bats.
You may already have most of these supplies at home. If so, you can go straight to the step-by-step tutorial.
Otherwise, you’ll find a selection of useful supplies at the end of the article to complete what you’re missing.
Step 1 — Choose and Prepare Your Material
If you plan to make your garland with repurposed cardboard, choose cardboard that is thin enough to cut easily, but firm enough for the wings to hold their shape.
You can also use heavy colored drawing paper. To make sturdier bats, cut out two identical silhouettes, then glue them back to back.
If you’re using cardboard packaging, open it up and cut out flat sections, without folds or tears, where you can trace the template. A cereal box or another piece of thin cardboard will work very well for this project.
Step 2 — Prepare the Vivabulle Bat Template
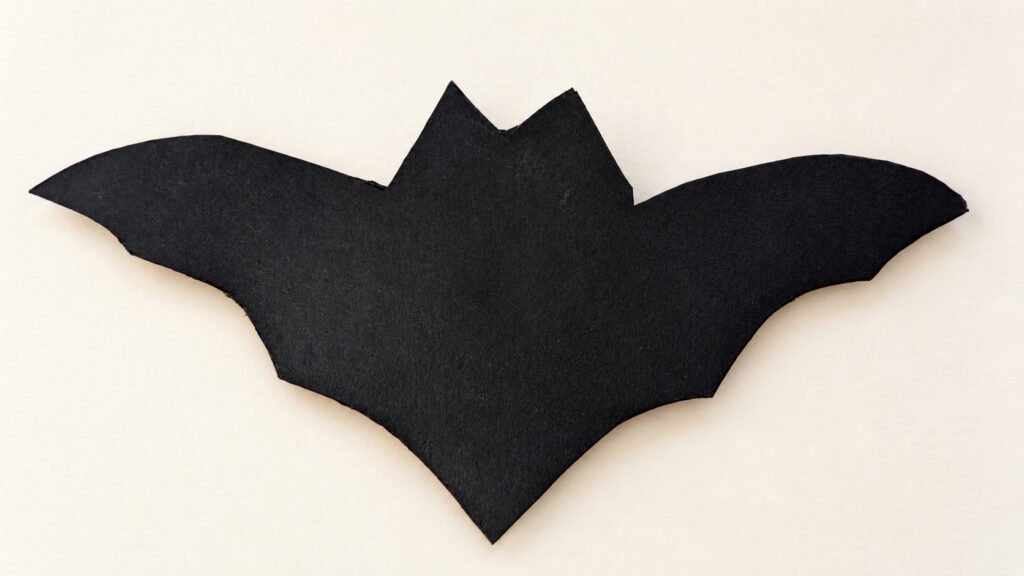
Download and print the Vivabulle bat template, then carefully cut around its outline. You can use the same template to trace all the silhouettes for your garland.
Also mark the two spots where the cord will pass through. Transfer them onto each bat so you can pierce the holes in the right place when it’s time to assemble the garland.
The cut-out template can be traced onto repurposed cardboard or colored paper. On black or very dark paper, it’s best to use a white or light-colored pencil so the lines remain clearly visible.
Step 3 — Trace the Template and Cut Out the Silhouettes
Place the Vivabulle template on the cardboard or colored paper, then hold it in place while you trace around it with a pencil. On black or very dark material, use a white or light-colored pencil. Also mark the two guide points where the cord will pass through.
Repeat the process until you have the number of bats you want, depending on the length of garland you’d like to make and the amount of cardboard or paper you have available.
Then carefully cut out the silhouettes with scissors or a craft knife. Take your time around the ears, points, and wings — these little details are what will give the garland its character.
Step 4 — Make the Two Holes
Using the two guide points transferred from the template, pierce each bat with a tool suited to your cardboard or paper.
You can use a hole punch, a fine-point tool, or a toothpick, depending on how thick your material is. If you pierce the holes with a pointed tool, place the bat on a cutting mat, a piece of thick cardboard, or another protective surface.
Step 5 — Decorate Your Bats
Once the bats have been cut out, you can move on to decorating them. If you’re using repurposed cardboard, apply a paint suitable for paper or cardboard, such as acrylic paint.
Black will create bold silhouettes and a very Halloween-inspired look. You can also vary the shades with dark colors such as midnight blue, charcoal gray, plum, or a deep brown.
To get an opaque color, two coats will often be needed. Let the first coat dry before applying the second, then wait until the bats are completely dry before handling them.
If you’d like, you can add a few details with a marker or paint: small eyes, subtle patterns, or a touch of contrasting color.
Step 6 — Assemble the Bat Garland
Wait until the paint is completely dry before you start assembling the garland.
Then choose the thread, string, or ribbon you’d like to use. In the video, I used black waxed cotton cord, but you can use whatever you have on hand, as long as it is strong enough to hold the bats.
Thread the cord through the two holes in each bat, leaving a good length free before the first silhouette so you can hang the garland.
Add the bats one by one, adjusting the spacing as you go. Once all the silhouettes are in place, leave another good length free, then cut the cord.
At each end, make a loop so you can easily hang the garland on your chosen support.
Step 7 — Hang the Bat Garland in Your Decor
Choose where to place your garland based on the available space and the rest of your Halloween decor.
Against a light-colored wall, the dark silhouettes will stand out especially well. You can also hang the garland above a piece of furniture, along a wall, or in front of a window, so you can enjoy it indoors and, depending on the light, make it visible from outside.
Storing the Bat Garland After Halloween
After Halloween, store the garland flat in a box or a rigid pouch. This will keep it protected from dust and ready to take its place again next year.
Useful Materials and Supplies for the Bat Garland
You can make this garland with very simple materials, many of which you may already have at home. The links below are only here to help you complete your supplies if needed.
- Pencils for tracing templates — to trace the bat shape neatly onto cardboard or paper.
- Cutting tools — fine scissors, precision scissors, or a craft knife for cutting out the bat silhouettes cleanly.
- Cutting mat — useful if you’re using a craft knife or precision knife, to protect your table.
- Single-hole punch or punch pliers — to thread the cord easily through the bat silhouettes.
- Black or dark acrylic paint — to create bold, highly visible bat silhouettes.
- String, cord, or natural thread — to assemble the bats and hang the garland.
- Heavyweight black drawing paper — to make bats without painting.
- Paper and cardstock glue — to glue two colored paper silhouettes together and make them sturdier.
I hope this tutorial inspires you to create your own bat garland for Halloween. If you make one, tell me in the comments which colors, papers, or packaging materials you chose!